
Christmas Inspiration - Issue #3
Merry Christmas and a Happy New Year to you!
Traditionally Christmas is one of the most festive times of the year, but often it can also be one of the most stressful! I hope that however you are spending it this year, you’ll enjoy it with some beautifully presented (but stress free) food and great company.
Beautifully presented food doesn’t need to be hard or time consuming, and hopefully you have some new tips up your sleeve from EasyPeasy Kitchen to use this festive season. Maybe you’re planning to make a lovely fruit platter...? I’ve got just the video for you! (See below)
In this issue:
- Fresh off the press (+ Recipes) - How to arrange a fruit platter like a pro
- Inspiration from my kitchen - Quick Christmas idea
- Q&A - Why do you cook and already cooked ham?
- What's in the pipeline? How to make carrots more interesting and exciting
Fresh off the press... (+ Recipes)
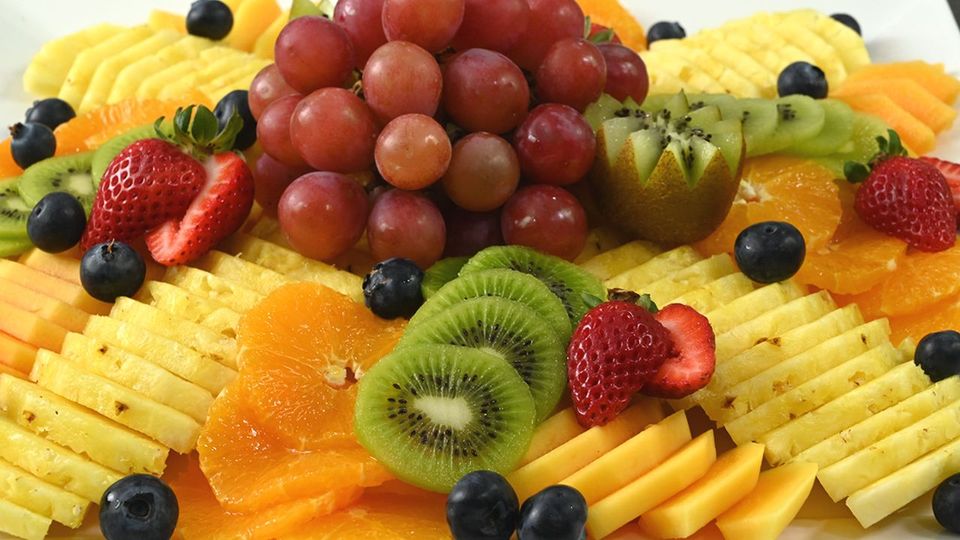
We’ve just uploaded a new video - How to arrange a fruit platter like a pro. It's so easy to create something beautiful when you start with some delicious fruit.
The good news is you don’t have to use summer fruit, anything seasonal works. In this video I also share some tips on how to bulk out a fruit platter with other things for if you need to cater for more people than your fruit allows.
Have a watch and see how it all comes together…

Fruit Platter
Ingredient ideas:
Any seasonal fruit works great: Watermelon, melon, pineapple, mango, grapes, berries, cherries, orange, kiwifruit, mandarin, pawpaw, passionfruit etc
Additional suitable ingredients for bulking out a fruit platter:
- Dried fruit, nuts, marshmallows, chocolates, pretzels, fruit crackers, bliss balls, biscuits, slices, confectionery etc.
Tips for arranging your platter:
- Decide on whether you are going for a symmetrical or abstract design.
- Once you have your main structure in place, fill in the gaps - mixing up colours and fanning the fruit.
- Fan out sliced fruit to make your platter appear fuller.
- Peel fruit that's hard to eat with skin on and no utensils.
- Remember to add some height.
- Arrange grapes so that they don't look too stalky. If the platter is for children cut the stalks into smaller little bundles.
- If you are serving your platter with toothpicks, cut your fruit into chunkier pieces.
- If you are serving fruit that's likely to go brown, make sure you add it just before serving.
Inspiration from my kitchen
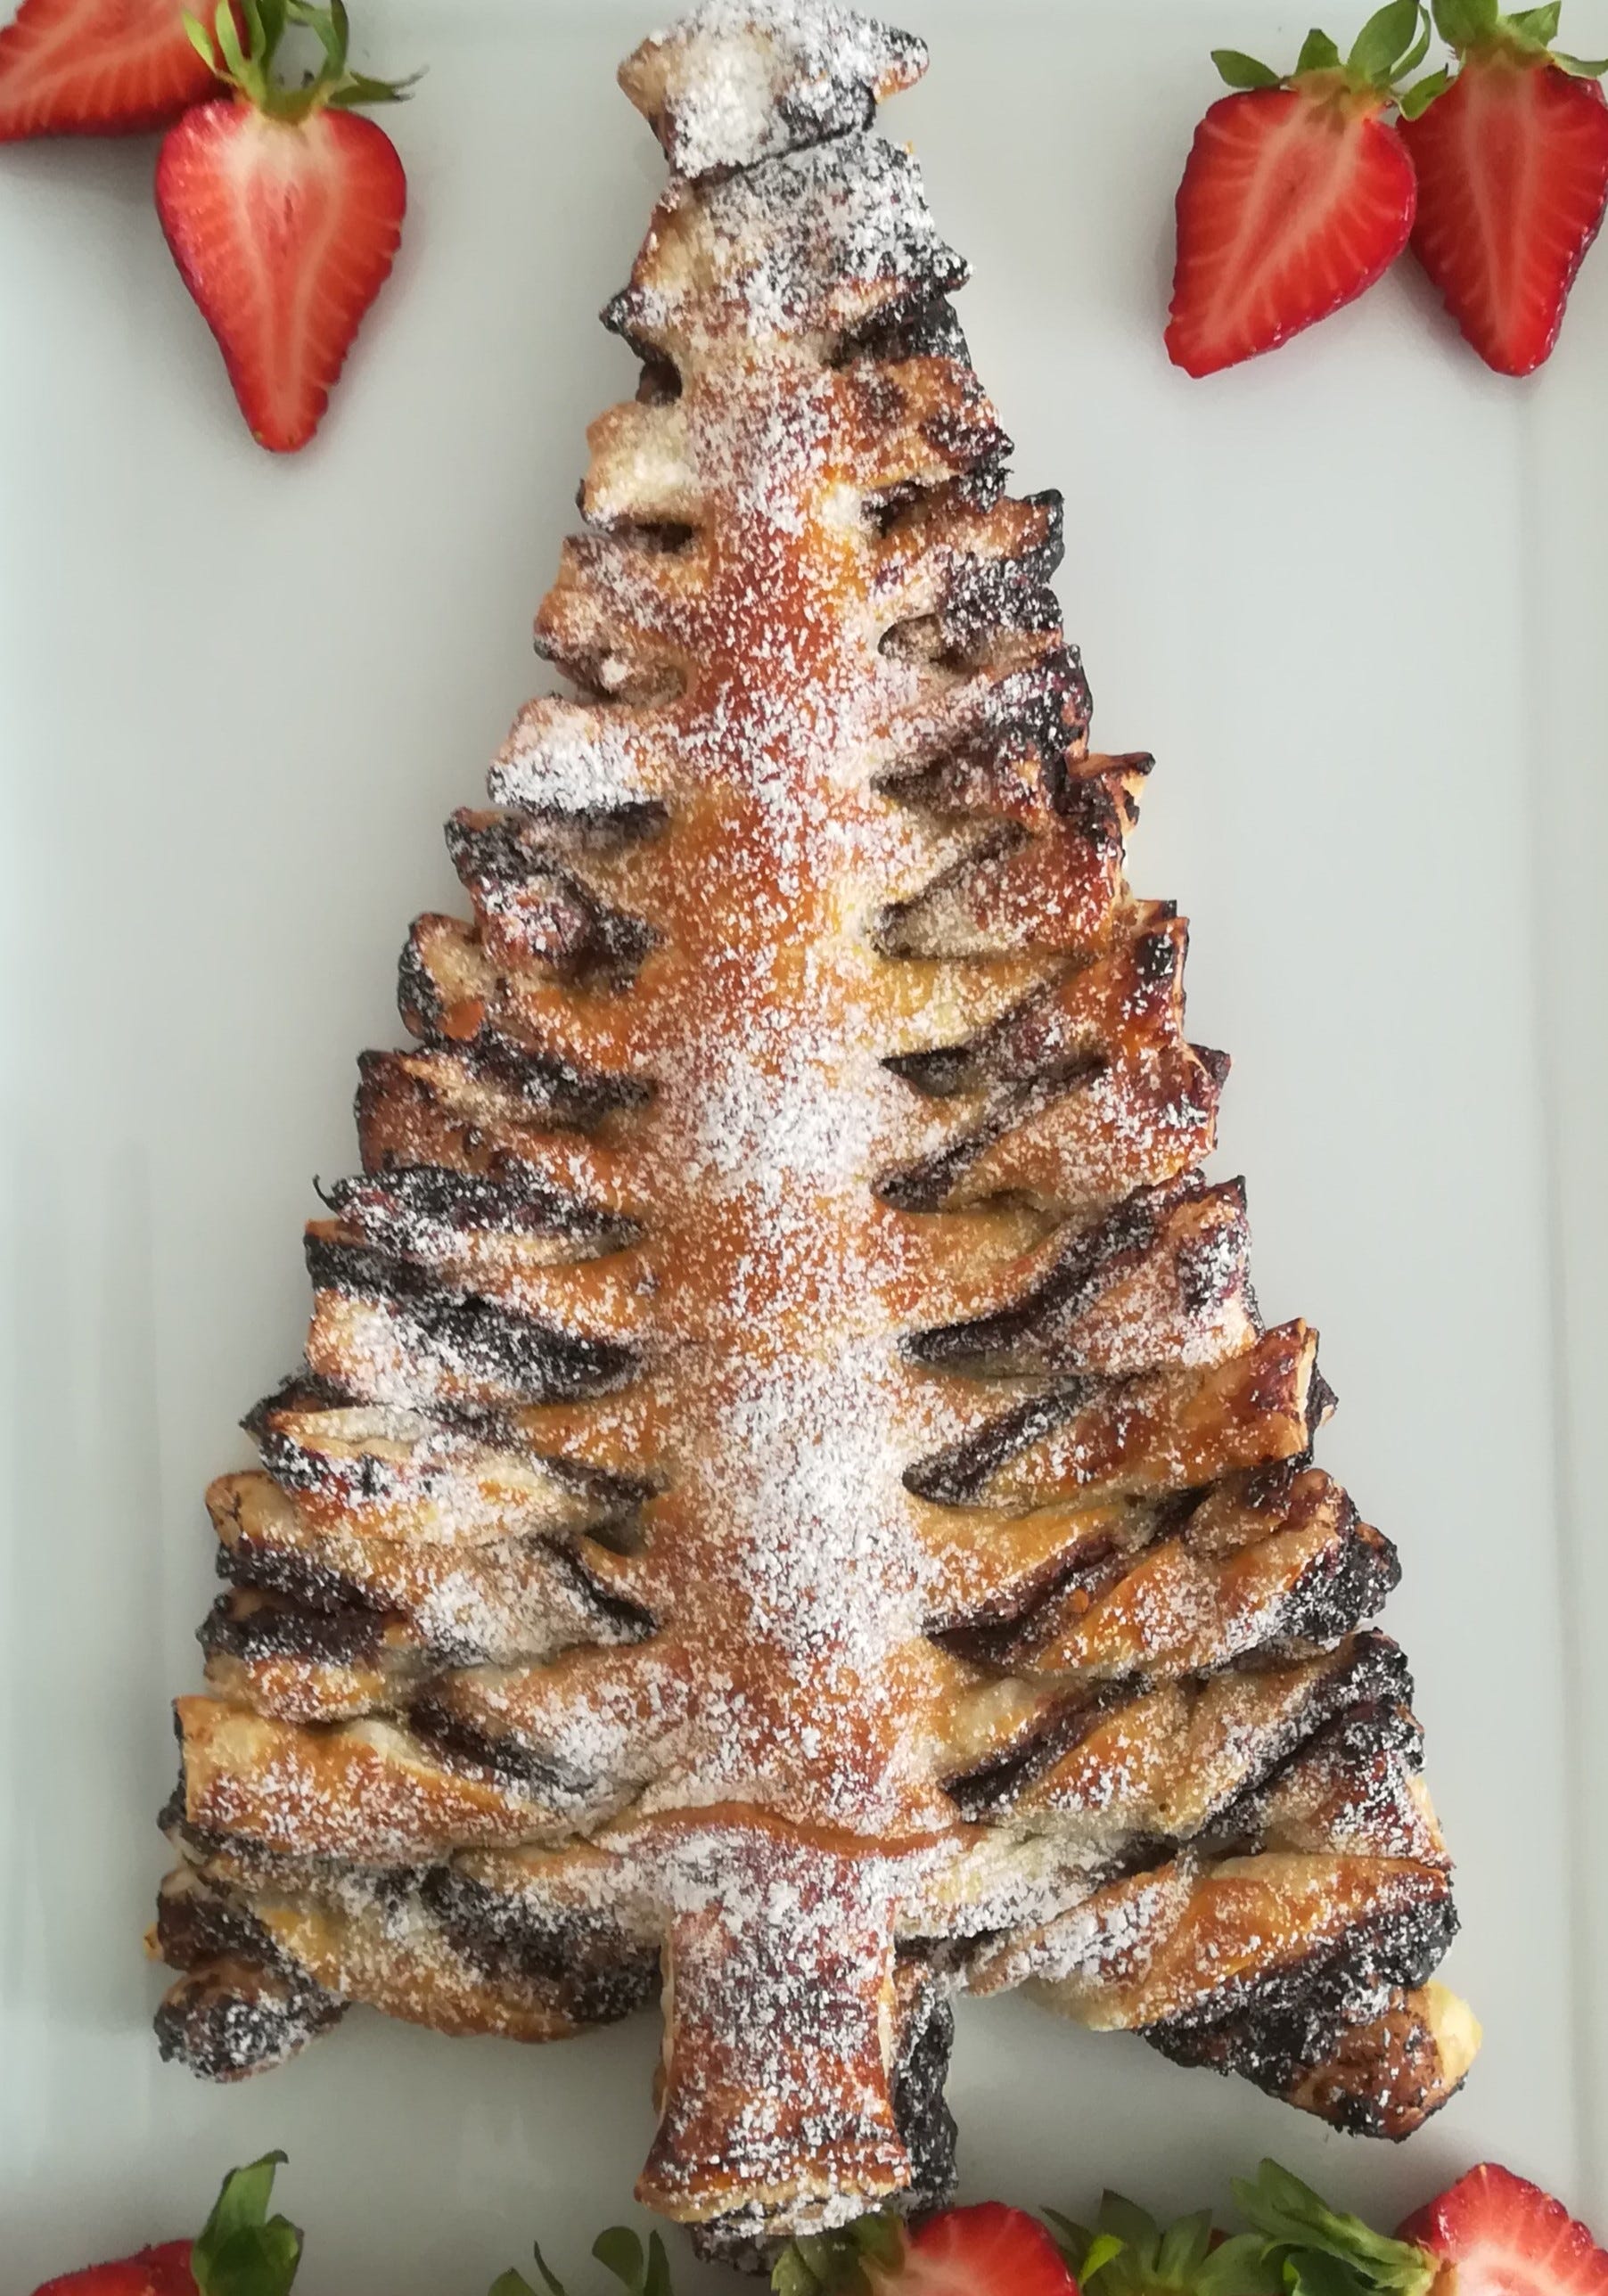
At Christmas time you always have to have a few quick ideas on hand. I always have a roll of puff pastry in my freezer ready to whip up sweet or savoury snacks.
Here’s a photo of a twisted chocolate filled Christmas tree I made last year using puff pastry and chocolate.. There’s no recipe sorry.. it just happened!
Q&A
Since it’s Christmas time and food is inevitably part of it, someone recently asked me about glazing a Christmas ham.
Q: Why do you do you ‘cook’ an already ‘cooked’ ham?
A: Well in short you don’t have to cook and already cooked ham. It is perfectly good to eat straight out of the fridge, but there’s something very delicious about a warm, glazed ham for Christmas dinner. So essentially you’re only ‘cooking’ your already cooked ham to warm it through and caramelise your glaze.

If you’re interested, here’s how I glaze a ham. Maybe I need to make a video about this!?
- Take off the thick skin, leaving the soft white fatty part. Score a zigzag pattern around the hock if you want to add a little more detail. (The skin comes off really easily and you can’t eat it, it’s very rubbery)
- Score the fat diagonally both ways and stick in a whole clove where the lines cross over.
- Sprinkle on some brown or raw sugar and pop into a warm oven. (160 degrees Celsius/320 degrees Fahrenheit). I prefer doing it slower at a lower temperature. You can also prop the ham up with tin foil balls so that you have an even glazing surface.
- Check it after about 30 minutes and add another sprinkle of brown or raw sugar. You can also add some chopped nuts if you want to add an extra layer of deliciousness.
- Continue this process until it’s beautifully golden (Approximately 2 hours).
- If it starts to get a little too dark, turn the oven temperature down a little.
- When you’re ready to serve, cover the hock end (if you have one) with tin foil and tie on a festive ribbon. A few springs of fresh green herbs always finish it off beautifully.
What's in the pipeline?
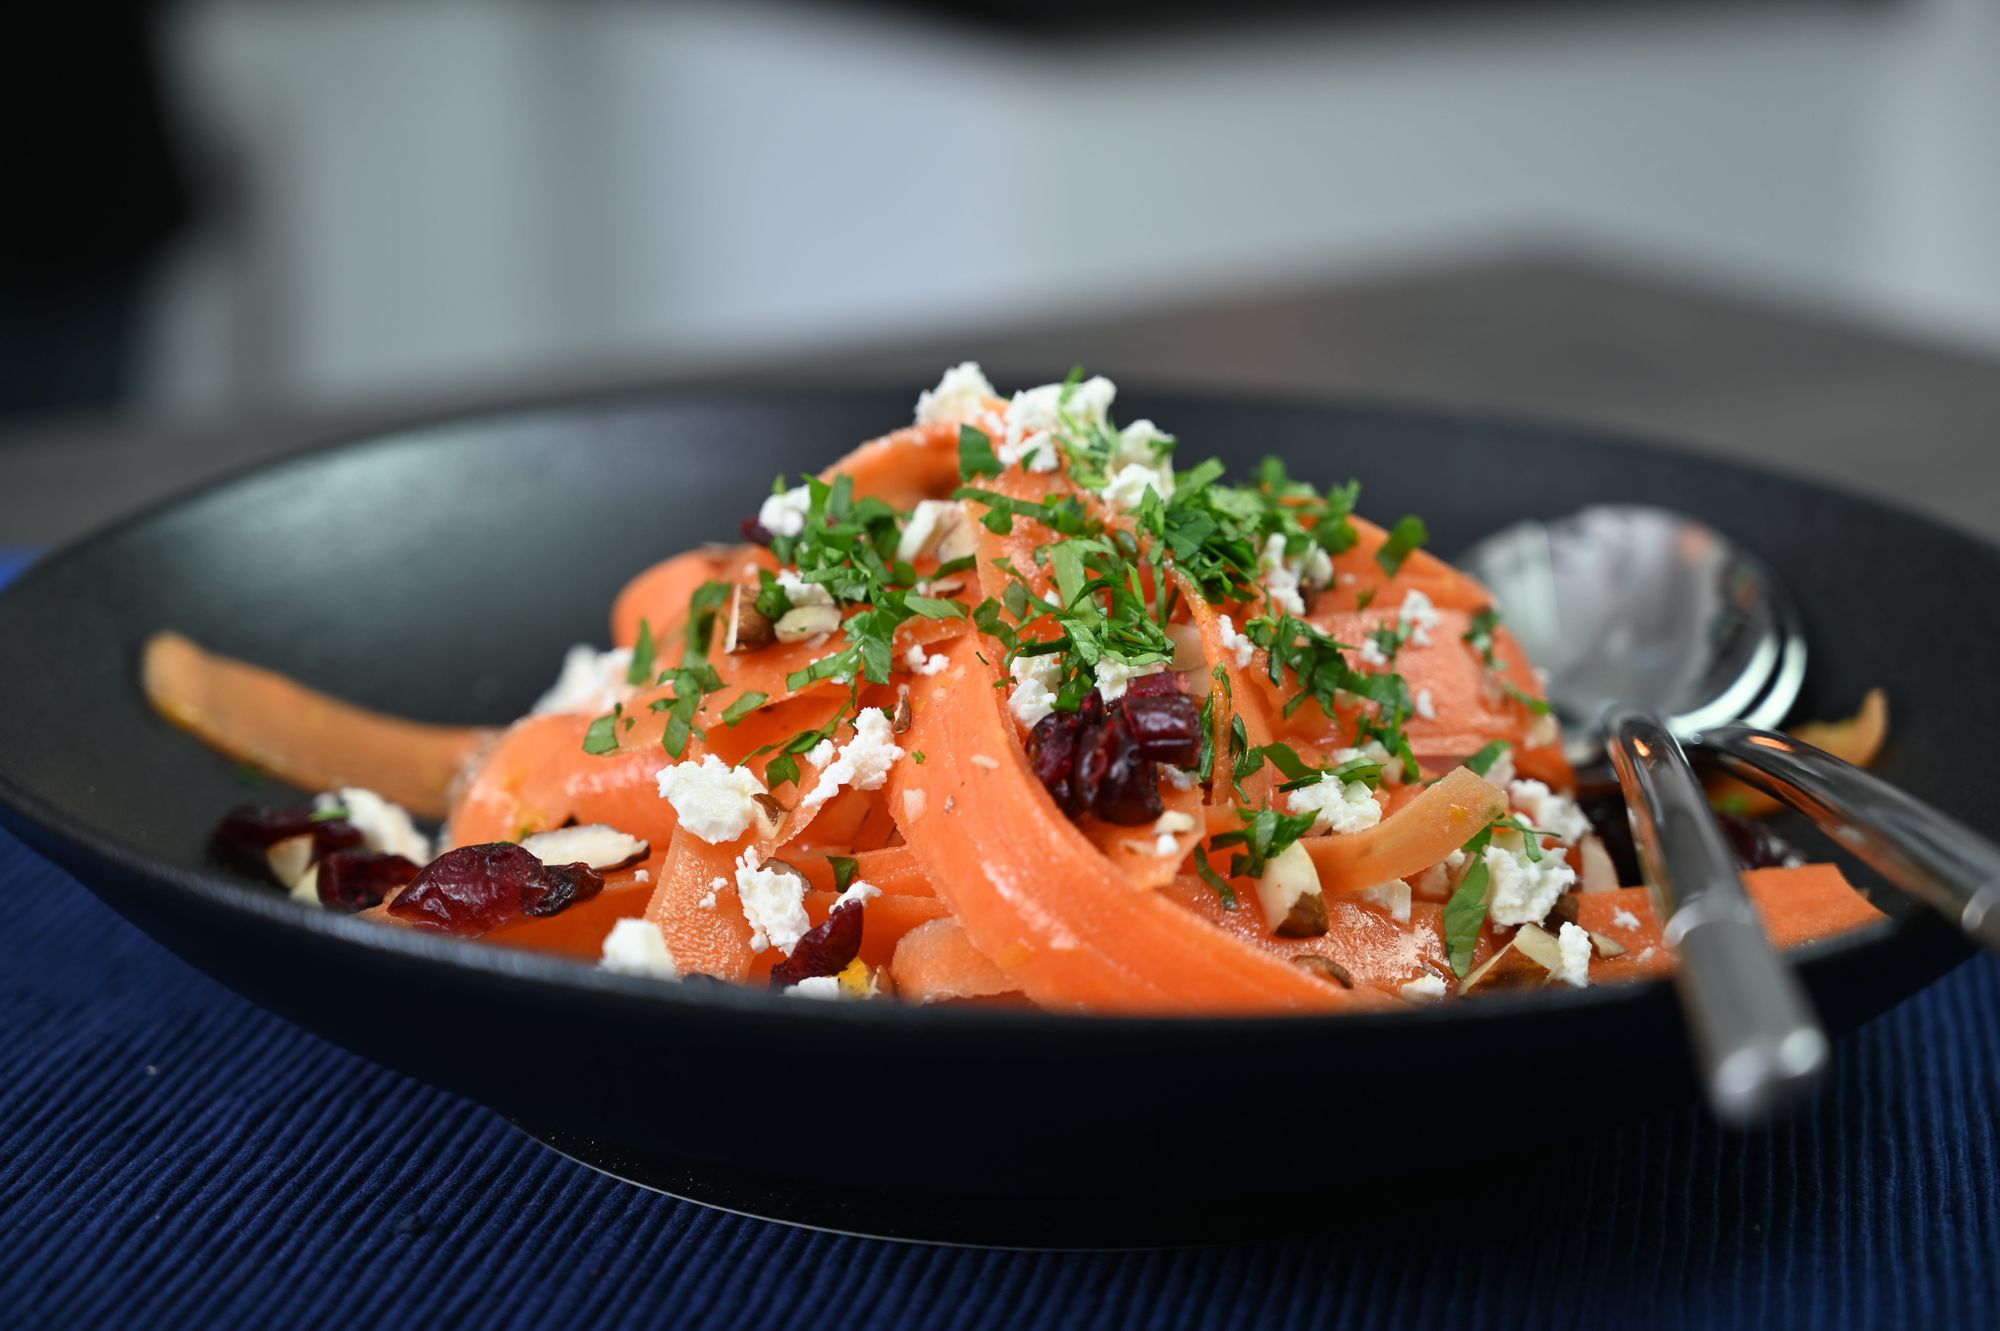
Recently we’ve been experimenting with carrots. They’re such a cost effective vegetable, so how can we cook and serve them in more interesting and exciting ways? I can’t wait to show you what we’ve come up with.
Here’s a little sneak peak of a carrot salad that’s a little different to boring grated carrots :)
Happy cooking,
Taryn