
Homemade Happiness - Issue #35
Happy Thursday!
A warm welcome to all the recent subscribers of the Easy Peasy Kitchen newsletter!
Our motto is 'It's easy to make beautiful food,' and in these newsletters, I aim to share simple ideas related to food presentation that we can incorporate into our daily living. We all know that not every meal can be a masterpiece, but when you want to add that special touch, it doesn't have to be complicated.
In this issue we're excited to announce our latest video release, where we've revamped our most popular cocktail sandwich making tutorial with even more details. Also in this issue, we're sharing some helpful tips on creating visually appealing homemade sausage rolls and savoury crackers.
Our goal is to inspire you to bring a homemade touch to store-bought favourites as well. Enjoy.
In this issue:
- Fresh off the press - How to make Cocktail Sandwiches - My 5 Step Process
- Inspiration from my kitchen - Homemade Sausage Rolls
- Ingredient spotlight - Seeds
Fresh off the Press...(+ Recipes)
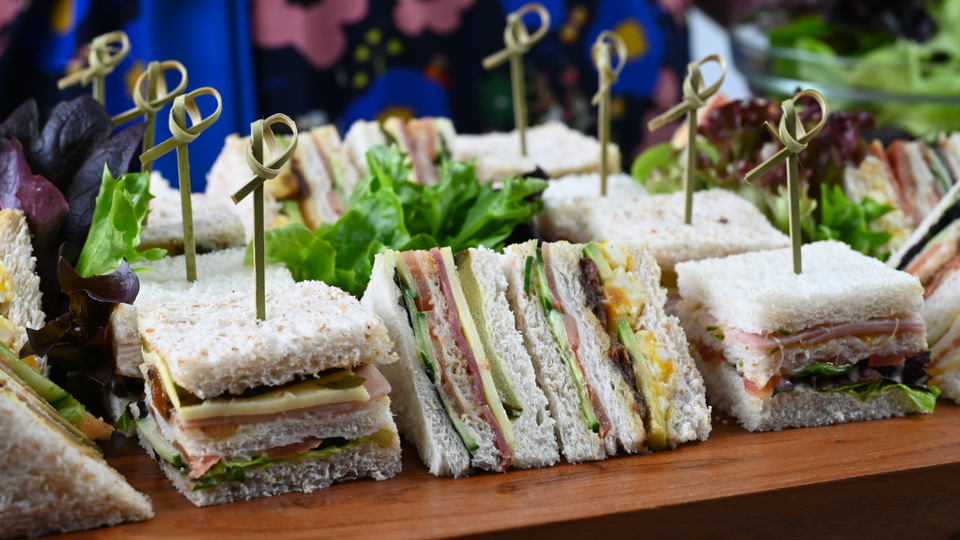
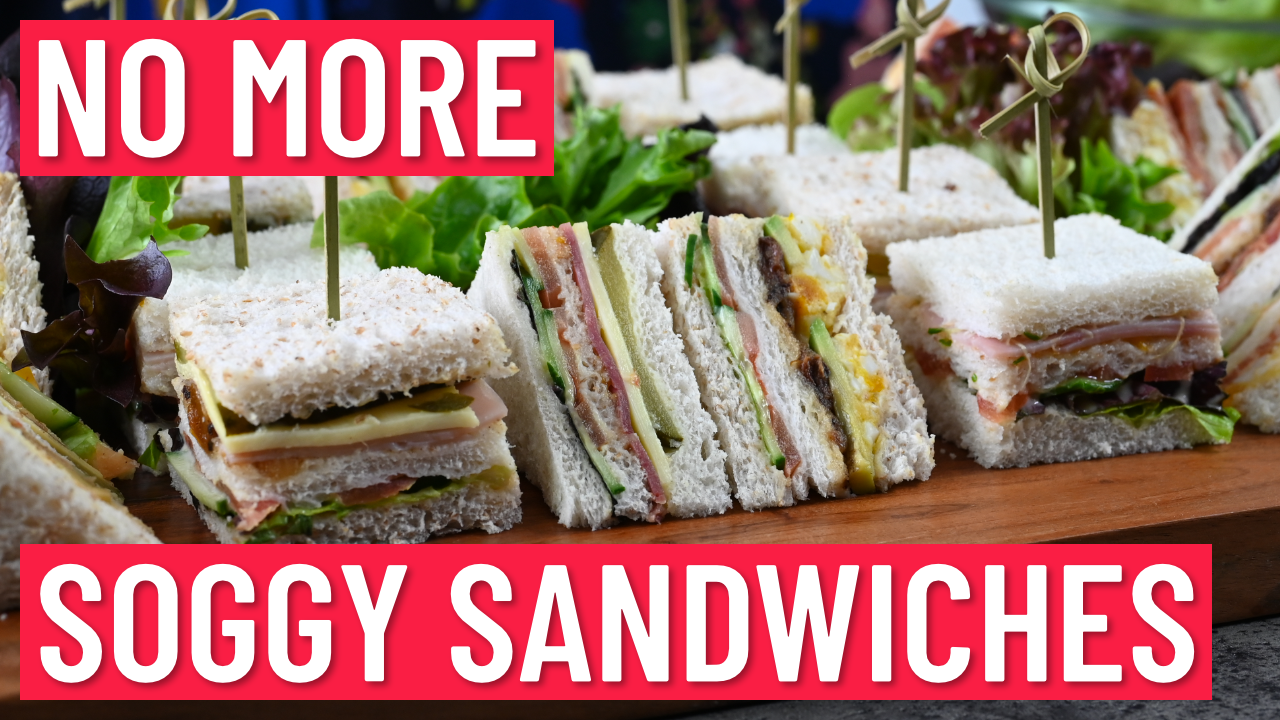
Our latest video - How to make Cocktail Sandwiches - My 5 Step Process - has just been published.
In this video I share my 5 step process for making a perfect cocktail sandwich selection. If you have problems with a sandwich platter that doesn't look just right, sandwiches that don't hold together, or sandwiches that are soggy, then this video is for you.
The best thing about this process is that you can make your sandwiches a day ahead of needing them without compromising freshness. The more prepared you are, the more fun entertaining can be.
You might know these sandwiches as club sandwiches, finger sandwiches, cocktail sandwiches or tea sandwiches - whatever you know them as, the process to make them is the same.
I hope you'll soon enjoy making your own delicious sandwiches.
Have a look here...
Cocktail Sandwiches
Ingredient Suggestions:
- White toast bread
- Wheatmeal toast bread
- Mayonnaise or similar alternative
- Mustard or Dijonnaise
- Leafy salad greens, preferably a mixture of colours
- Meat selection - Some ideas are ham, salami, beef pastrami, chicken, salmon, sliced roast meat
- Salad ingredients - Some ideas are cucumber, tomato, avocado, gherkins (drained)
- Boiled eggs
- Cheese slices, preferably a hard cheese
- Alfalfa sprouts or snow pea shoots
- Chutney, relish, hummus, dip, pesto
Preparation Suggestions:
- Put the mayonnaise and mustard/Dijonnaise into piping bags ready to use.
- Thinly slice the cucumber. Put in little stacks on a separate prep tray ready to go.
- Carefully core the tomatoes, cut in half and then thinly slice. Add to the prep tray.
- Mash the eggs, and add a little mayonnaise and seasoning. Put into a piping bag ready to use.
Assembly Suggestions:
For 6 sandwich 'runs', each with 3 layers of bread, I suggest the following:
- Lay out a row of bread with the sides of bread touching (3 slices of wheatmeal bread, then 3 slices of white bread)
- Lay out another row underneath in the opposite colours.
- Lay out a final row underneath the same as the top row.
- Zigzag on a layer of mayonnaise (the 'glue' layer) onto the top and bottom rows of bread.
- Add a layer of lettuce leaves to the bottom row of bread. Try to completely cover the slice of bread.
- Add a zigzag of Dijonnaise (alternate between the mayo and Dijonnaise for your 'glue' layer).
- Add about 6 slices of cucumber to each slice of bread.
- Add another layer of glue.
- Add the tomatoes.
- Add another layer of glue.
- Put the middle slice of bread on top of the first layer, carefully lining up the edges.
- Add the chutney. If you have 2 options alternate between them.
- Add the meat selection. Alternate between these.
- Add another layer of glue.
- Alternate between some of your other fillings, cheese, gherkins, alfalfa sprouts.
- Add the top layer of bread, mayonnaise side down. Make sure all the edges are neatly lined up.
- Stack 2 sandwiches on top of each other onto a clean tray so that you have 3 piles of 2 neatly lined up. Don't add any overlapping sandwiches as the lower layers will get unevenly squashed.
- Wrap completely with a compostable plastic wrap, adding a bit of pressure to compress the sandwiches. It's best to do a layer right around the tray and then another layer the other way.
- Refrigerate over night to compress.
- Cut the sandwiches into triangles or cocktail squares or fingers. If you are cutting triangles remember a piece of bread isn't square, so keep the opposite triangles together as they will be the same. On a small scale this isn't visible, but on a full tray of sandwiches it will look much tidier.
Inspiration From My Kitchen - Homemade Sausage Rolls
Whether you're whipping up some mouth-watering sausage rolls from scratch or popping store bought ones in the oven, here are a few tricks to make them look even better.
To give them a little lift in terms of presentation, simply make a few little slits on the top of the pastry. It not only lets the steam out making the pastry crispier, but makes them look more 'professional'. And if you want that golden, bakery-style finish, brush the top with some melted butter, egg wash, or milk.
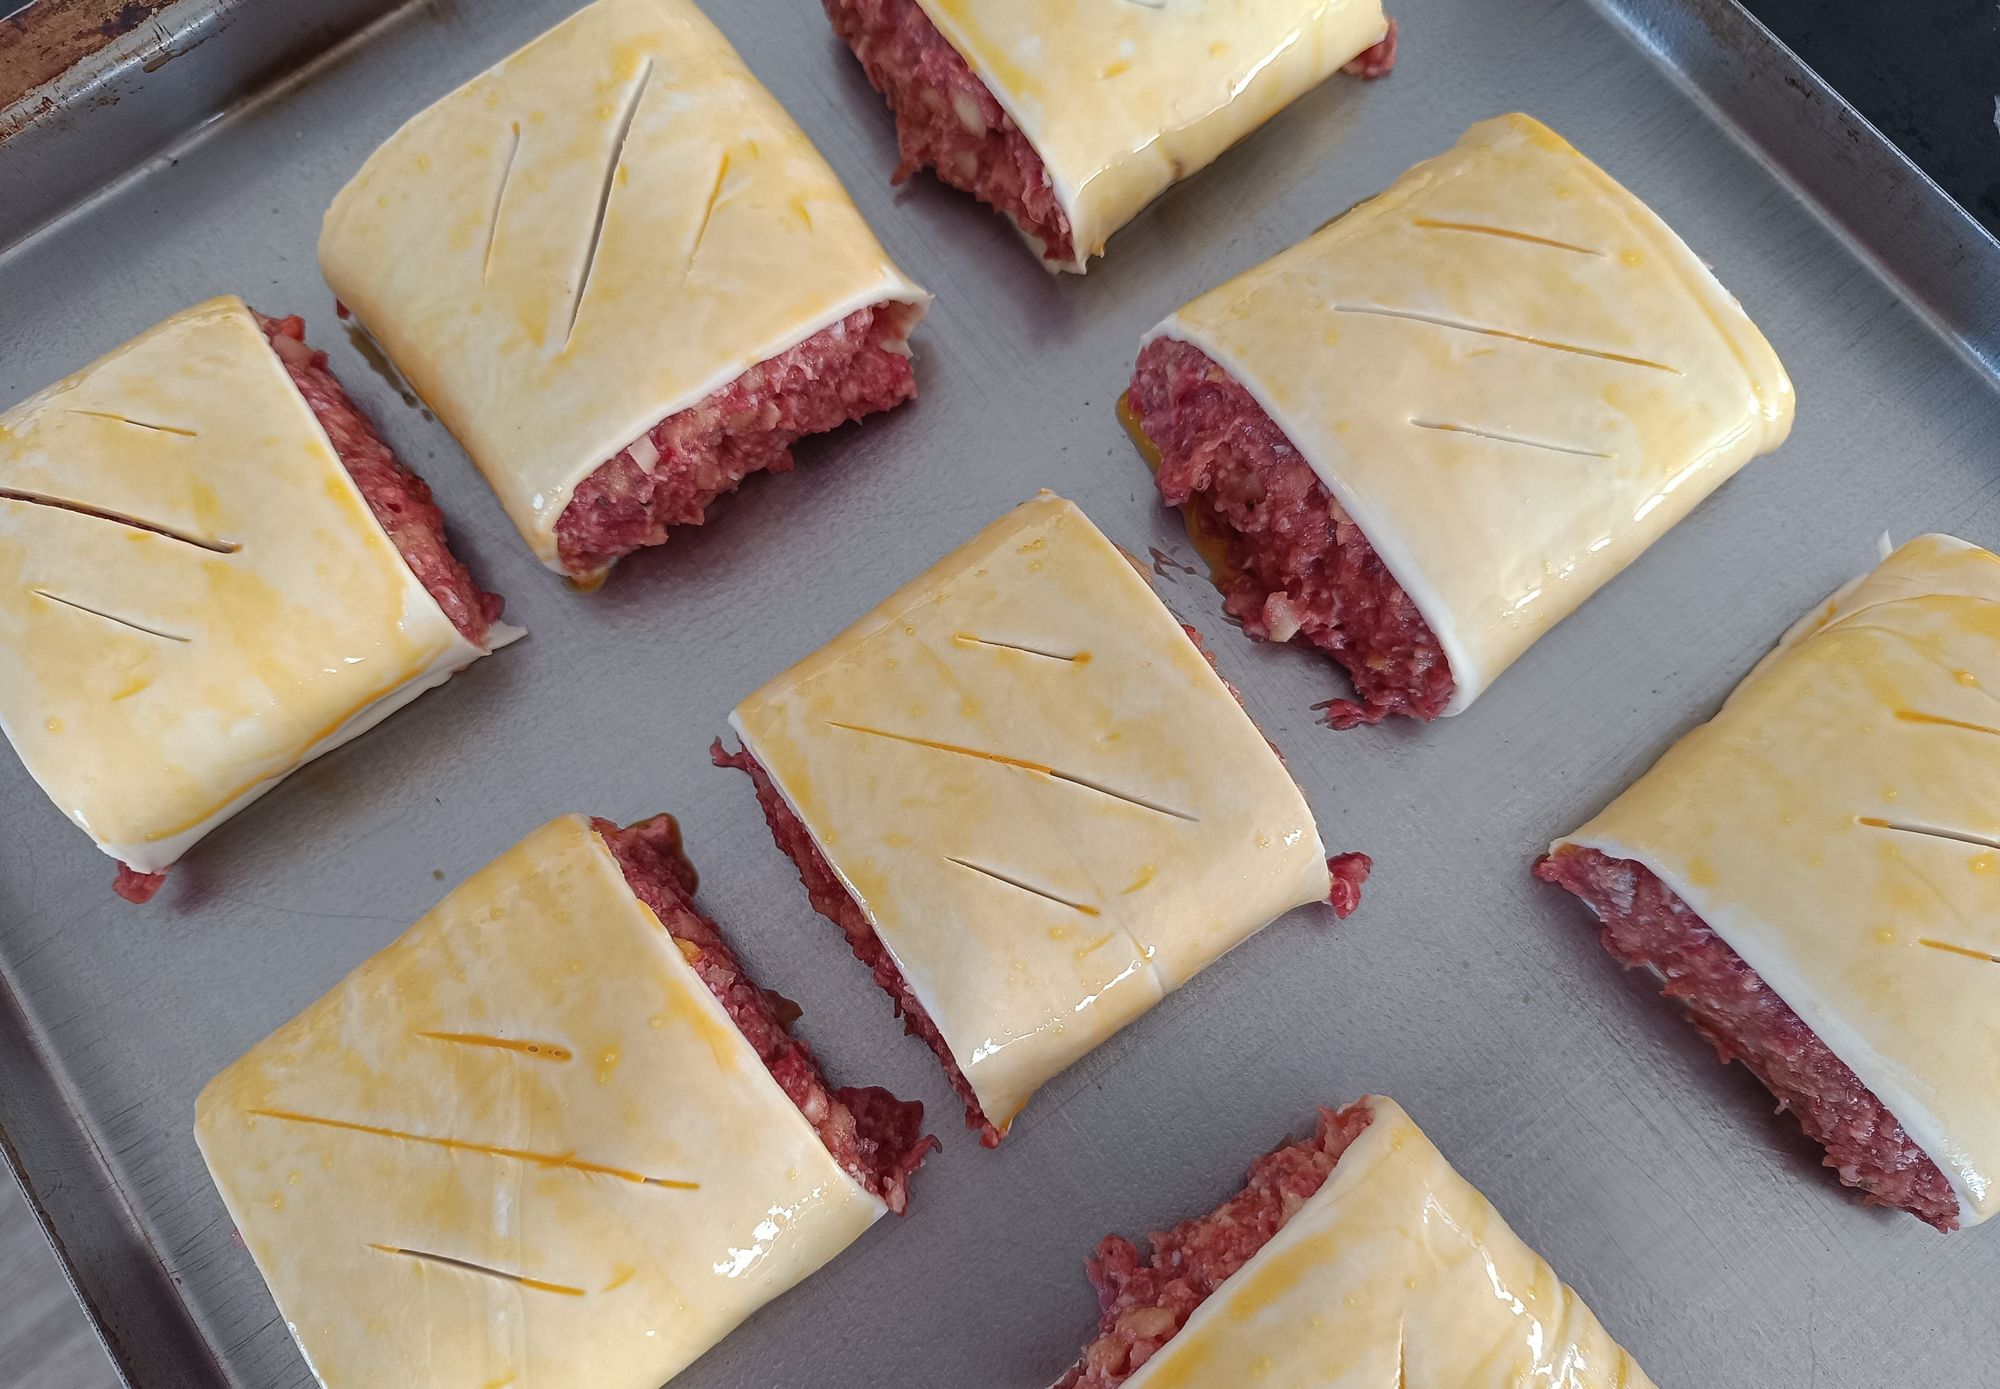
I decided to treat our family and made homemade sausage rolls last weekend. I don't do it often enough but everyone loves them, so I really should make it a regular thing. I admit I took a shortcut with store-bought pastry. The fun part is you can customise the filling flavours - for example you could make a lamb and rosemary mix - a flavour that you can't always find at the store.
The secret to nailing homemade sausage rolls is using enough egg to hold everything together. Oh, and here's another tip: as they bake, you might notice some liquid oozing out – pour that off about 10 minutes before the end of the cooking time, and your sausage rolls will come out nice and crispy.
Ingredient Spotlight - Seeds
Do you ever make your own savoury crackers? I find homemade crackers to be both easy to make and incredibly delicious. Plus, they're likely a much healthier option compared to store bought alternatives.
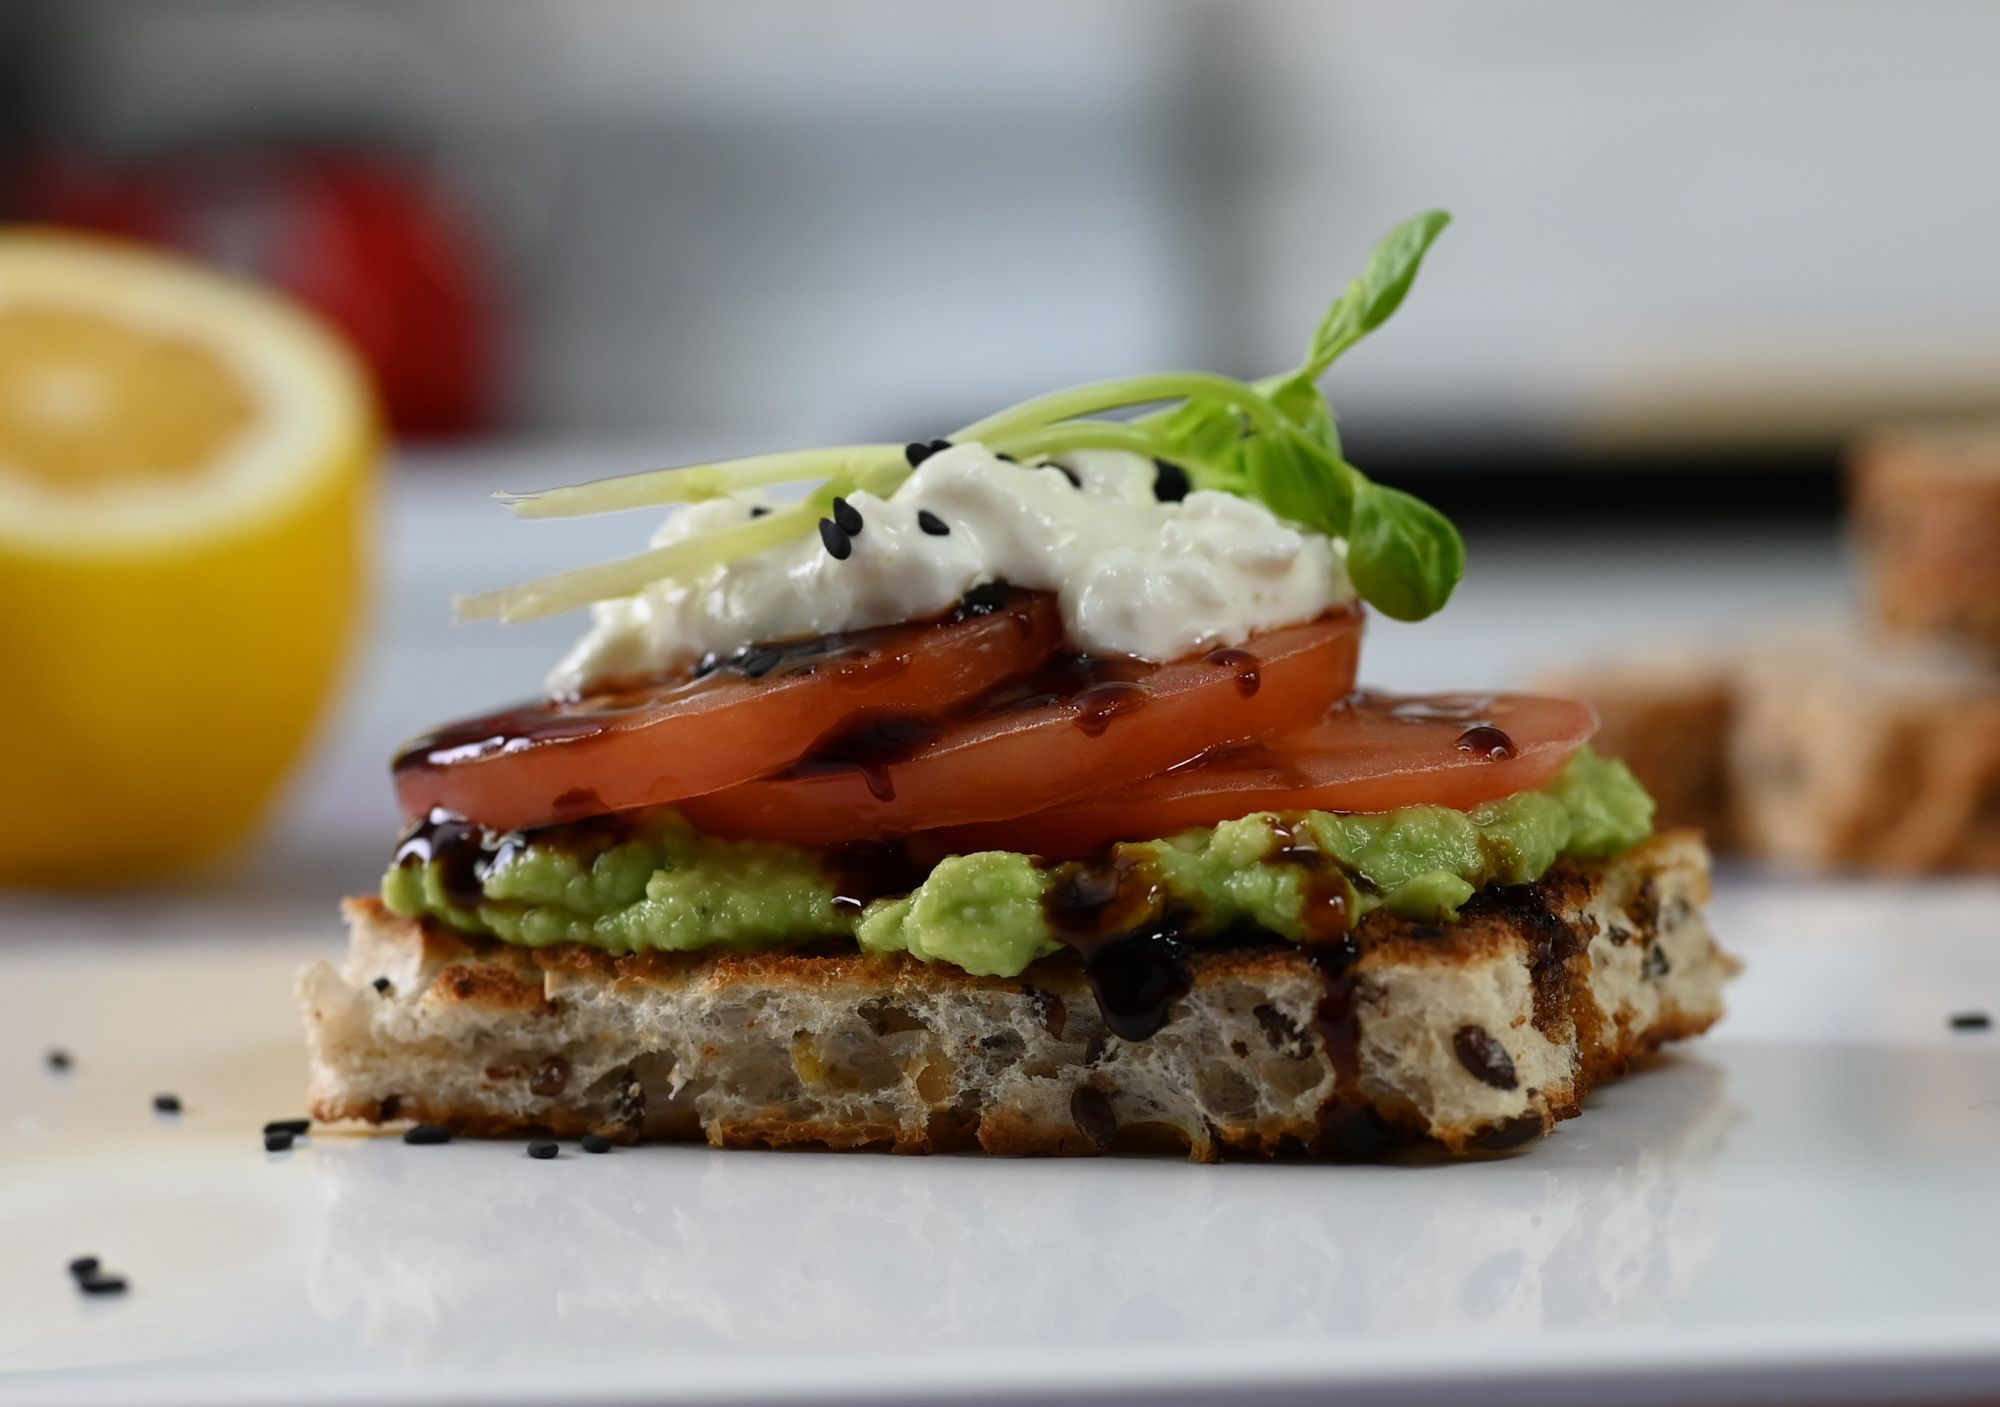

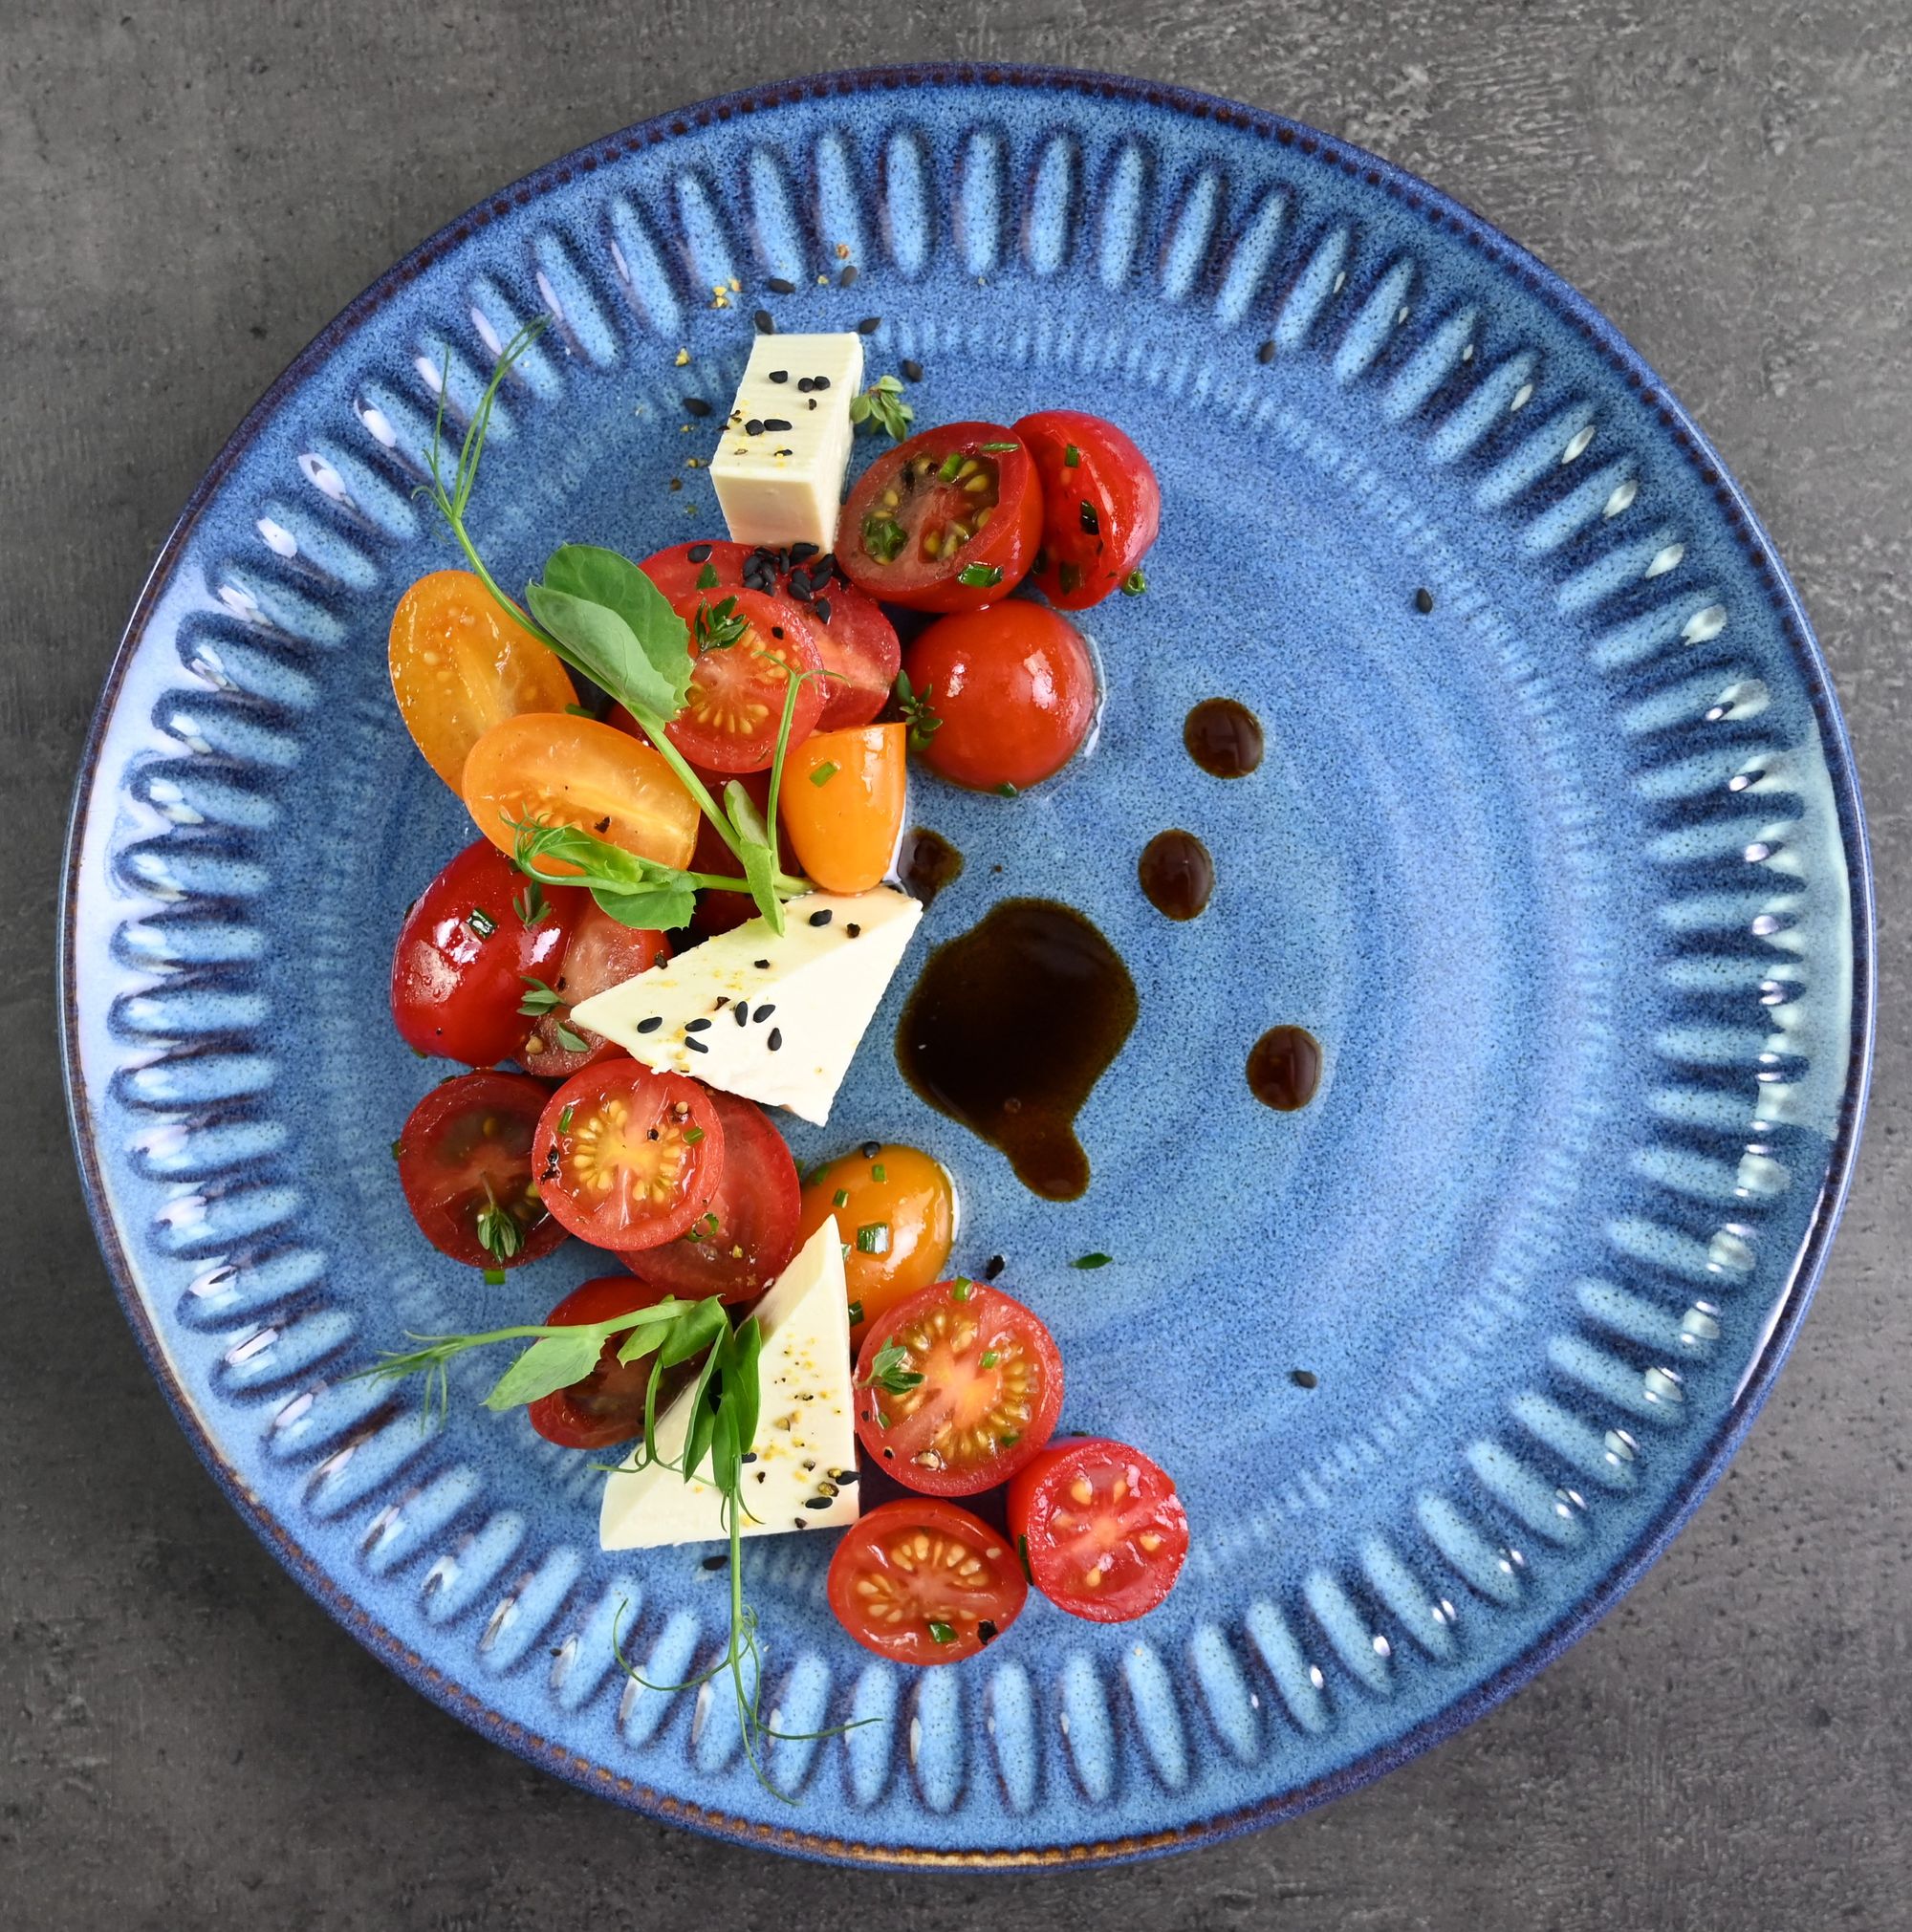
Using seeds to enhance presentation.
Recently, I've been thinking about the nutritional benefits of seeds – they're packed with fibre, healthy fats, minerals, vitamins, and antioxidants. I try to incorporate them into lots of recipes for a nutritional benefit, but when it comes to food presentation, even a small addition of seeds can add that 'wow' factor to a dish.
With kids at home and the constant need for snacks during the holidays, I decided to whip up some healthy mixed seed crackers, and they've been a hit! It's great to see everyone enjoying these crackers without even realizing they're fuelling themselves with this superfood.
I love the rustic appearance of homemade crackers. If you want to give them a go, the recipe is down below.
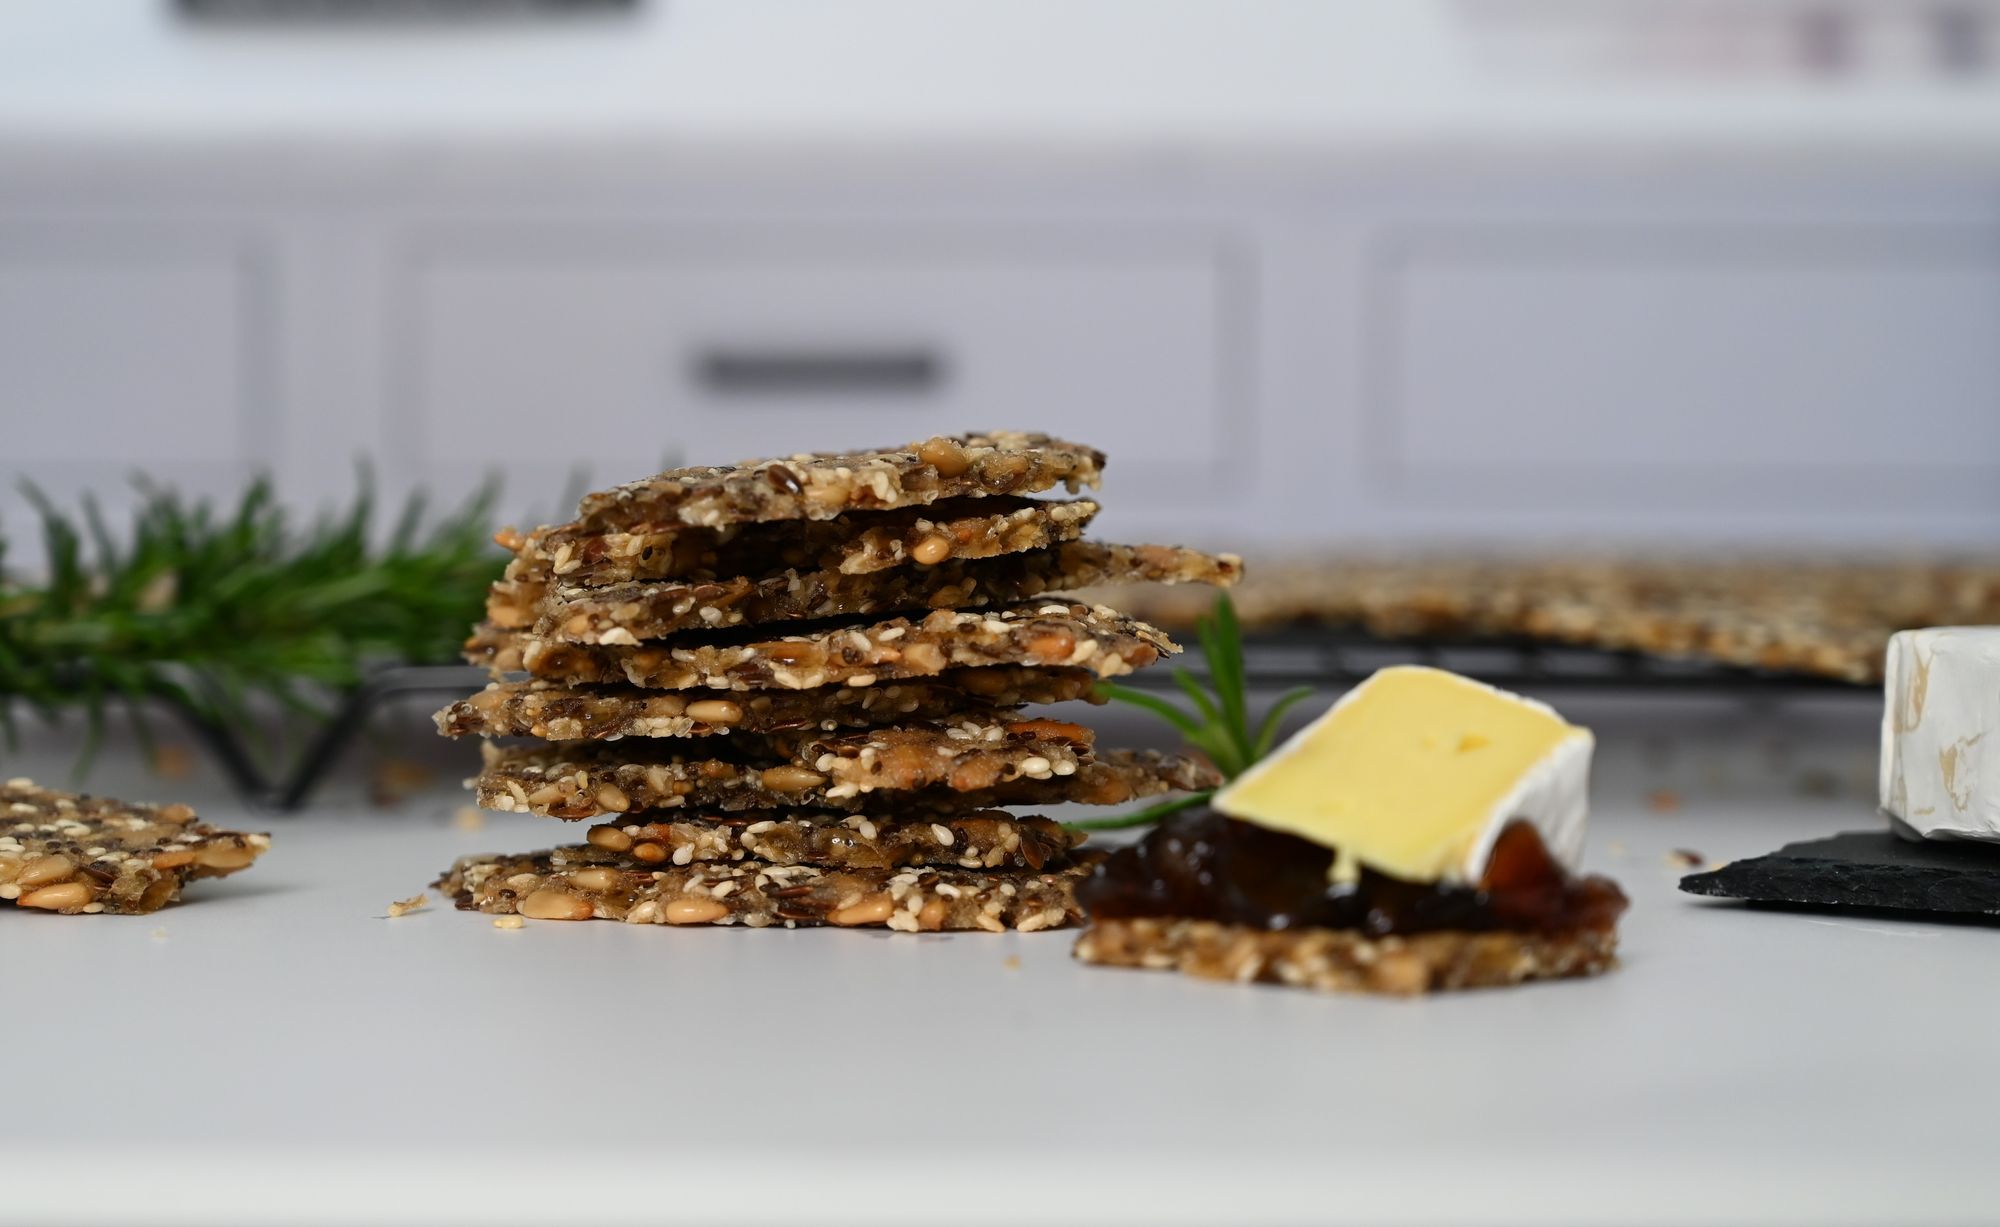
Mixed Seed Crackers
Ingredients:
- 75g (2 1/2 oz) Sunflower seeds
- 40g (1 1/2 oz) Linseeds
- 40g (1 1/2 oz) Sesame seeds
- 20g (3/4 oz) Chia seeds
- 1 teaspoon garlic powder
- 140g (4 3/4 oz) rice flour
- 125ml (4 oz) water
- 80ml (2 1/2 oz) olive oil
- 2 teaspoons salt
Method:
- Preheat the oven to 180 degrees Celsius (350 degrees Fahrenheit).
- Mix all the ingredients together in a medium sized bowl.
- Leave it for about 10 minutes to thicken a little.
- Pour onto a baking mat and spread out as thinly as possible. You could put a piece of baking paper on top and roll it out.
- Bake for approximately 15 minutes or until browned all over.
- Turn off the oven and leave it inside over night.
- When cool, break into shards and enjoy with fruit jelly and cheese.
What are some of your favourite homemade vs store bought staples?
Happy cooking,
Taryn